|
|
| Your Job: |
Copy your colored picture of Messier 1 into a word processor and create a profile of this astronomical object.
Research everything that is known about this object on the internet. Alternatively, you can edit an online profile here: Astronomical Profile . |
|
|
Notes on working with JS9: |
1.) If you get lost while experimenting with JS9 or nothing works anymore, just refresh this page. 2.) In addition to the image data, all scientific recording parameters (filter used, exposure time, exact recording date, etc.) are stored in FITS files. This data can be viewed in the FITS header: Menu: File ➔ display ... ➔ FITS header 3.) If you would like the editing window to be larger or smaller, you can use the small triangle (bottom right) and hold down the left mouse button to set this. Since only screenshots can be saved with JS9, it makes sense to enlarge the editing window before saving. A larger editing window can also be helpful for the exact alignment of the fixed stars. 4.) When aligning the fixed stars, zooming with the Zoom menu can also help. With the menu Zoom ➔ zoom to fit, the image is readjusted to the editing window. 5.) The View ➔ Blending menu opens a window that displays all loaded images. This can provide a better overview. In addition, as an alternative to the Color ➔ rgb mode menu, you can overlay any number of images. (See example "Dumbbell Nebula-M27" below.) |
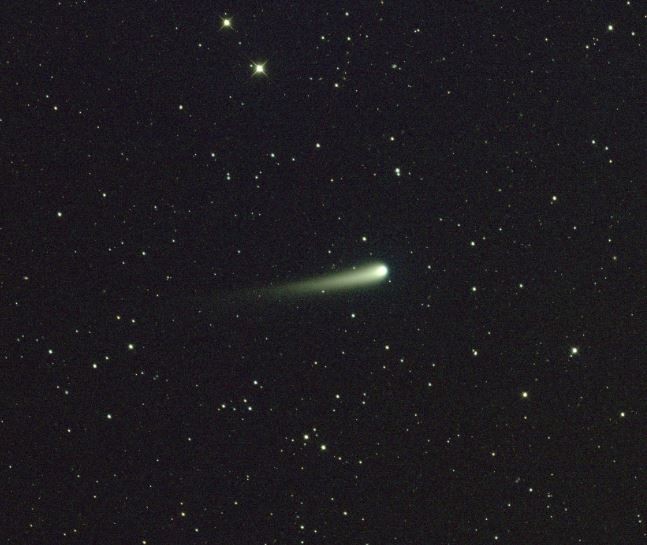
0.35m-LCO-Telescope Haleakala Astronomical Observatory/Hawaii
06.06.2024
3 x 70 seconds
https://observe.lco.global/requests/3557669
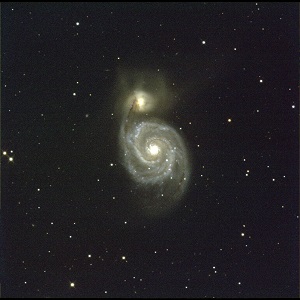
1m-LCO-Telescope South African Astronomical Observatory (SAAO)
18.07.2022
3 x 4 minutes
https://observe.lco.global/requests/2947839
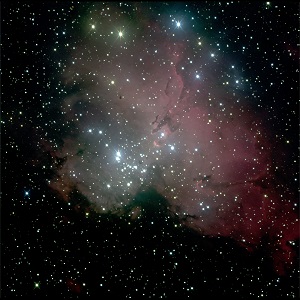
1m-LCO-Telescope Teide/Tenerife
31.01.2022
3 x 30 seconds
https://observe.lco.global/requests/2769214
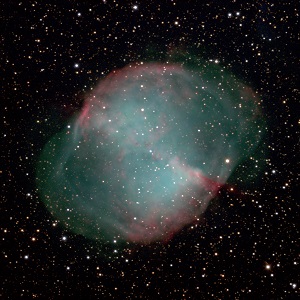
2m-Faulkes-Telescope Haleakala/Hawaii
25.08.2019
3 x 30 seconds
https://observe.lco.global/requests/1903738
Add the H-alpha image as the fourth image.
Color it e.g. red and fade it in additionally.